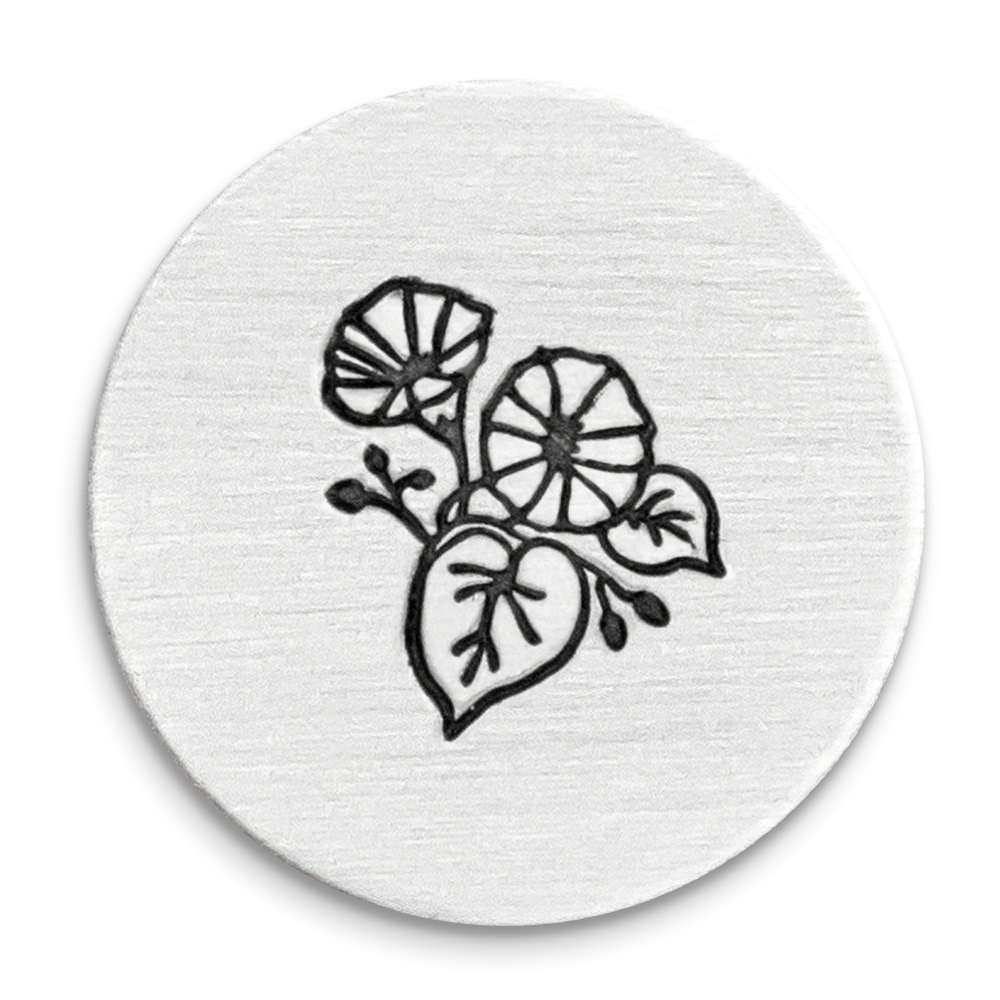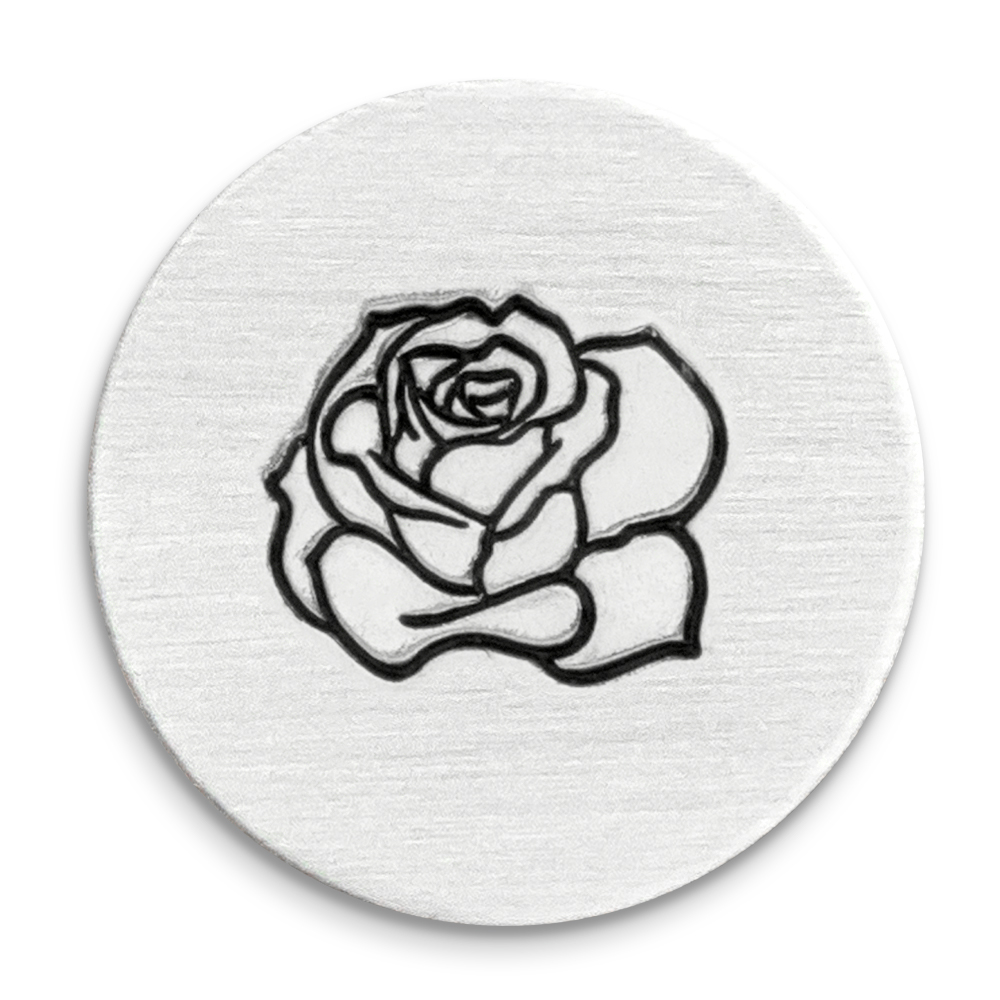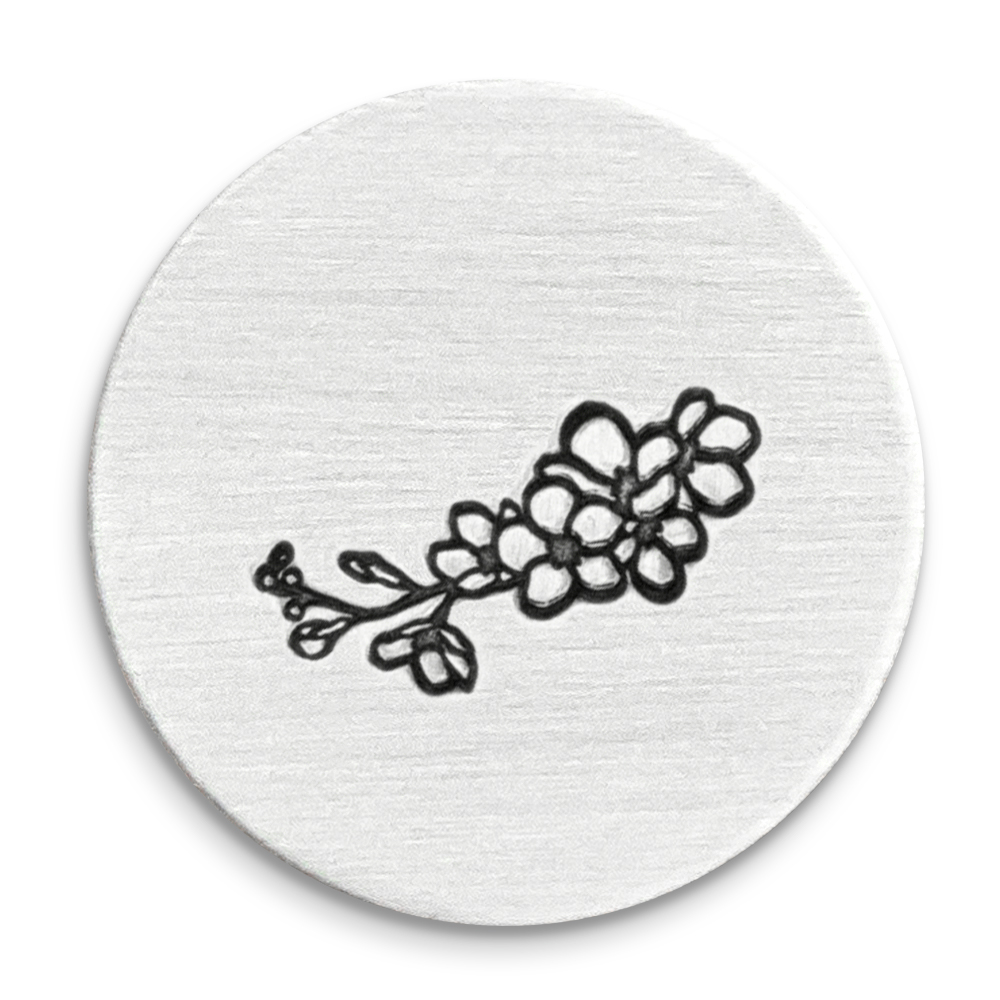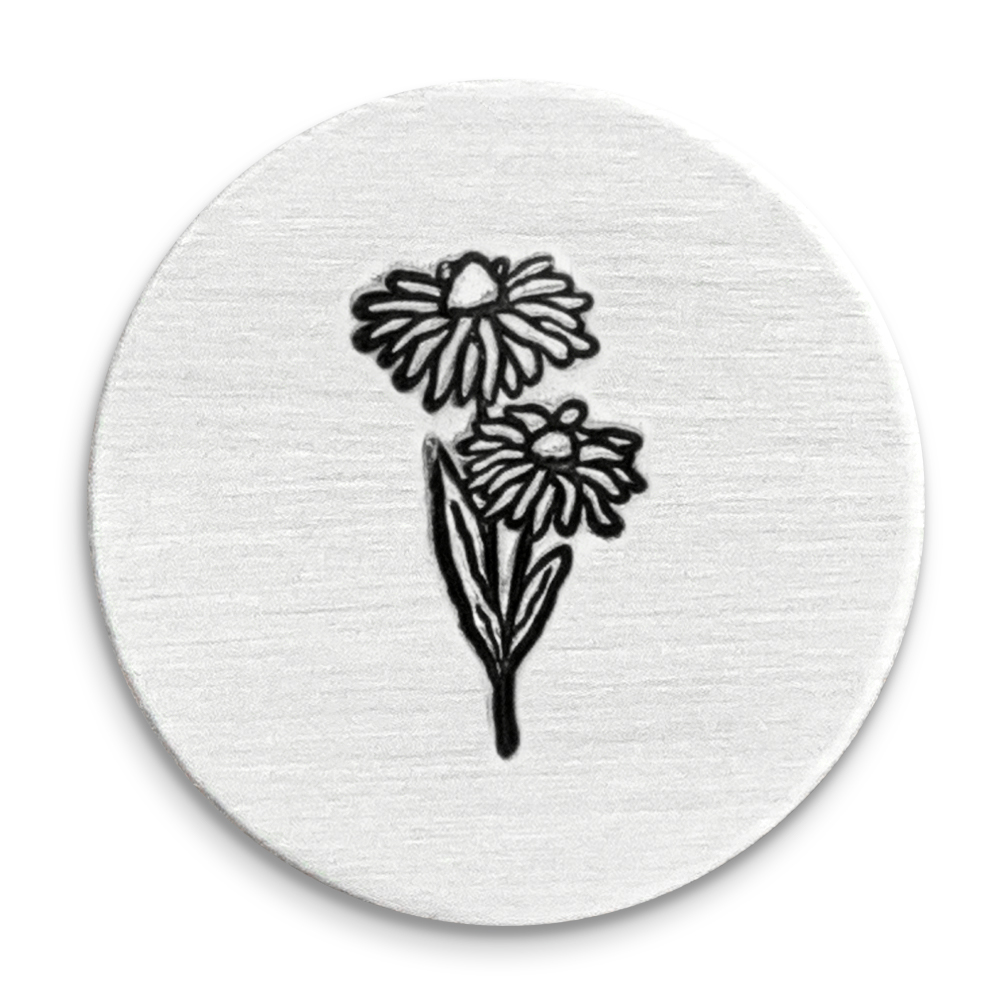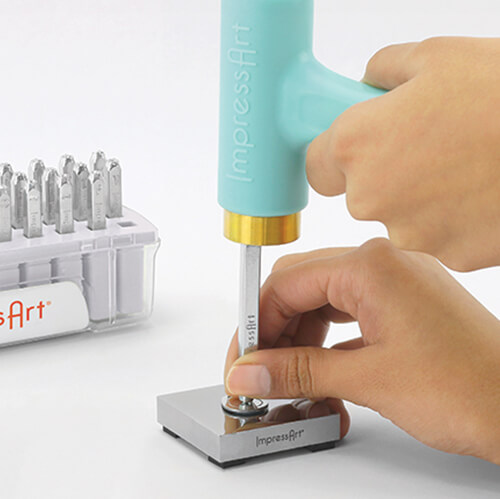
Rotate stamping block so it's positioned in a diamond shape. Then place bracelet blank horizontally on stamping block.
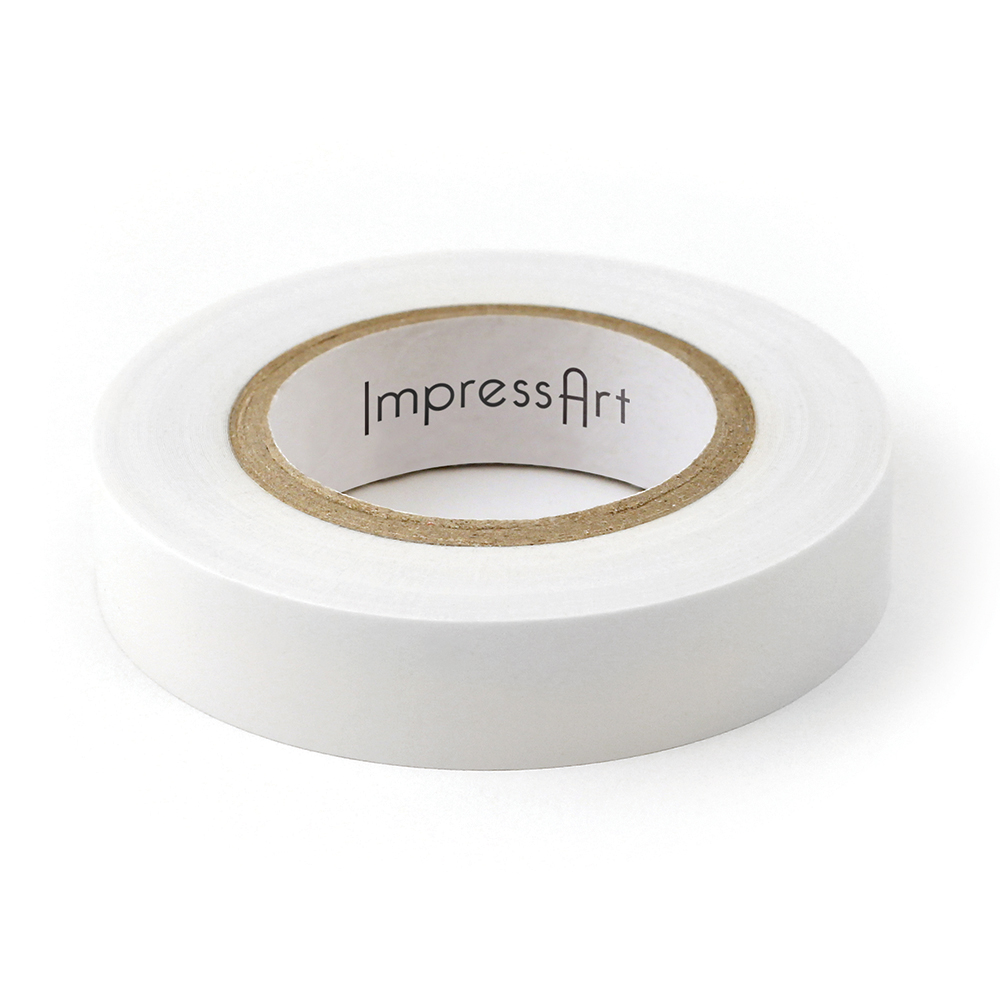
TIP: Use stamp tape to secure the bracelet blank to the stamping block so it doesn’t move while stamping.
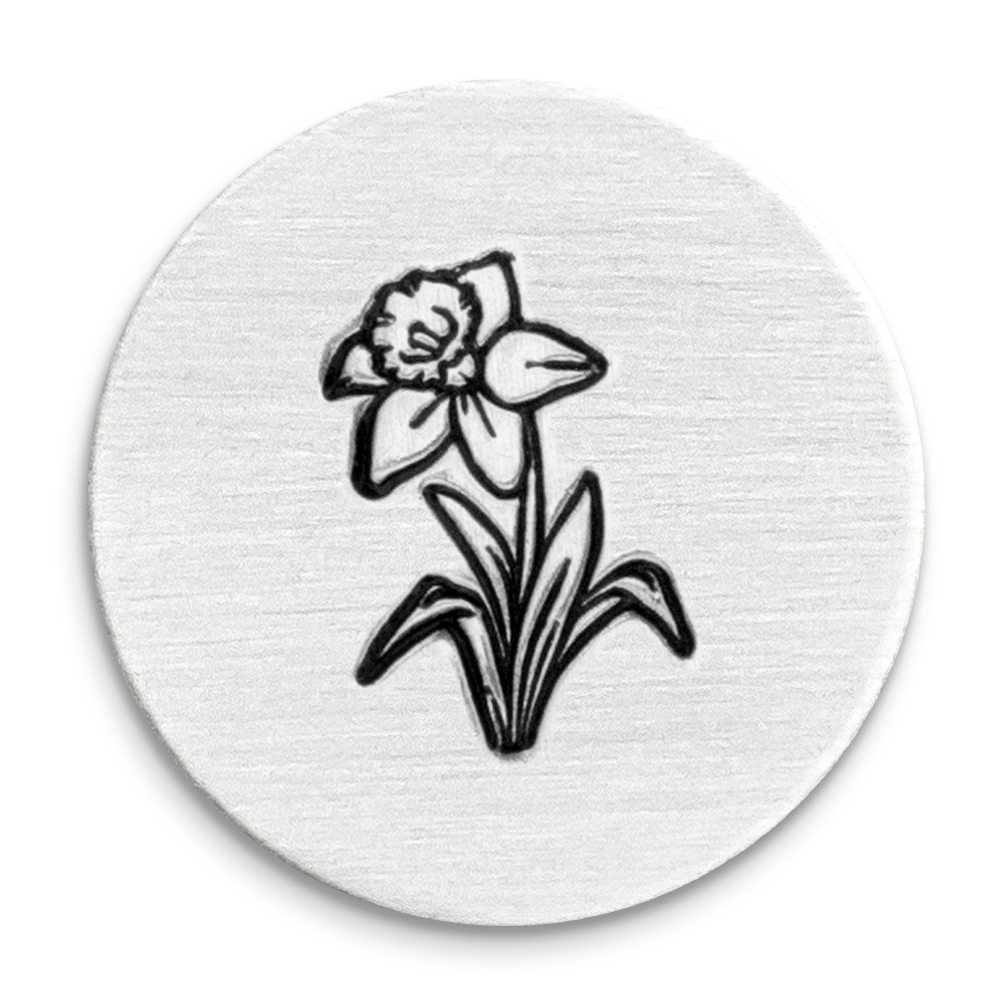
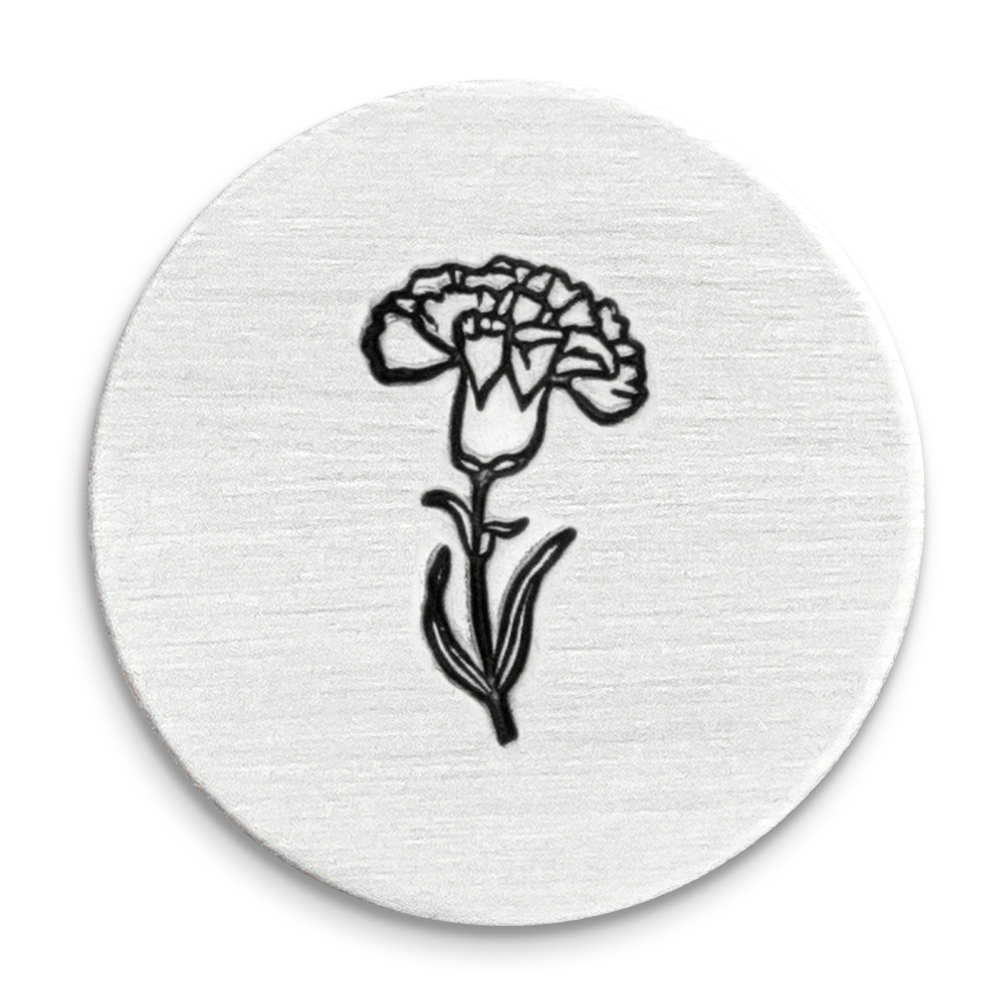
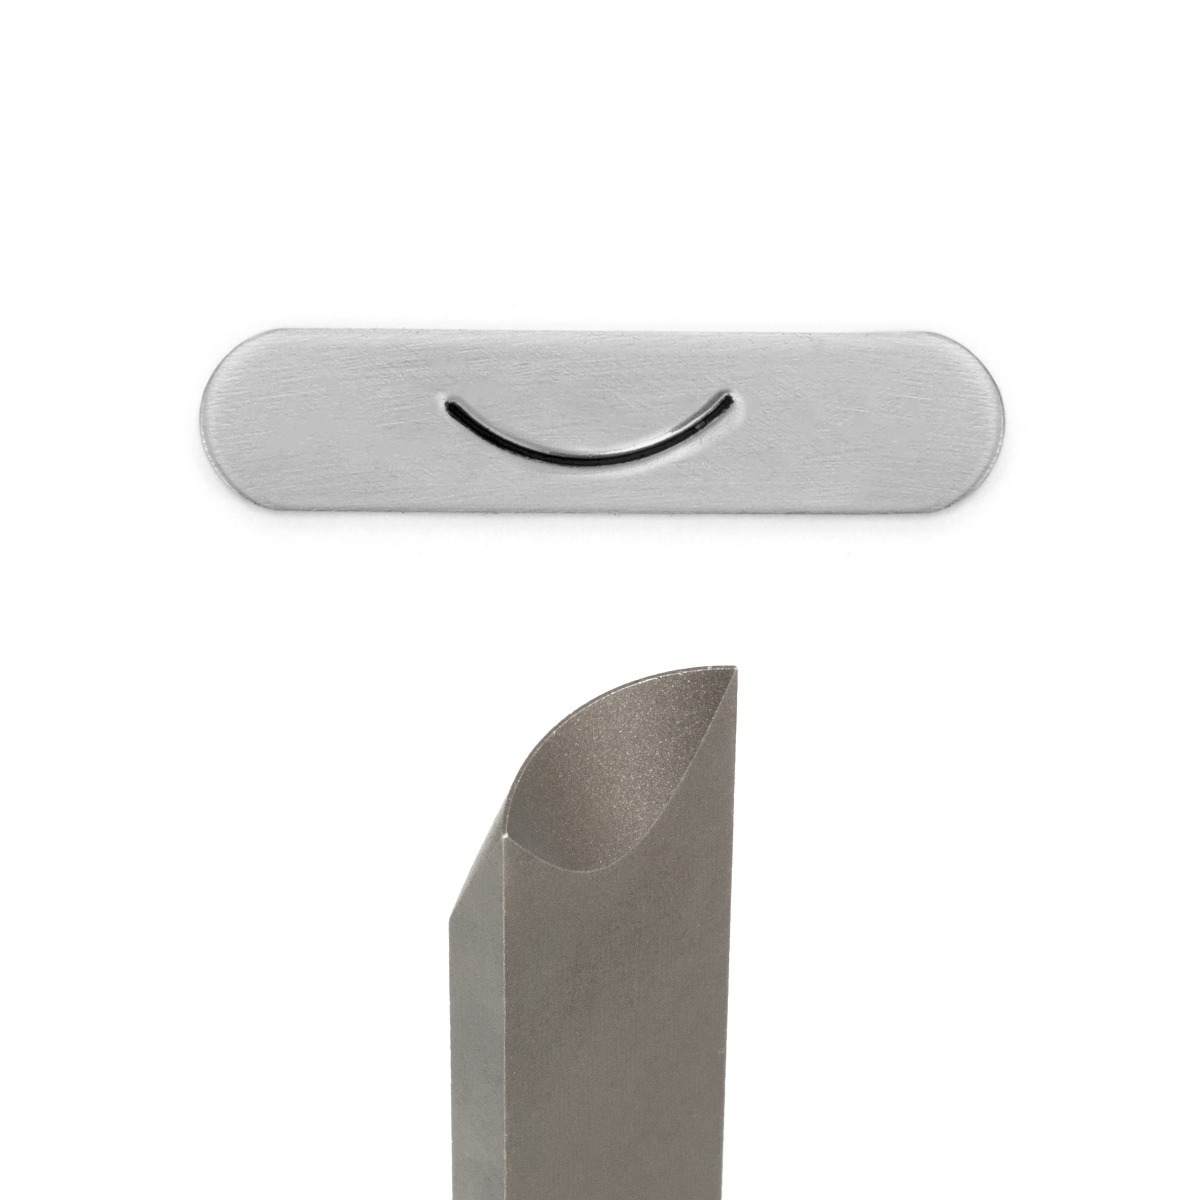
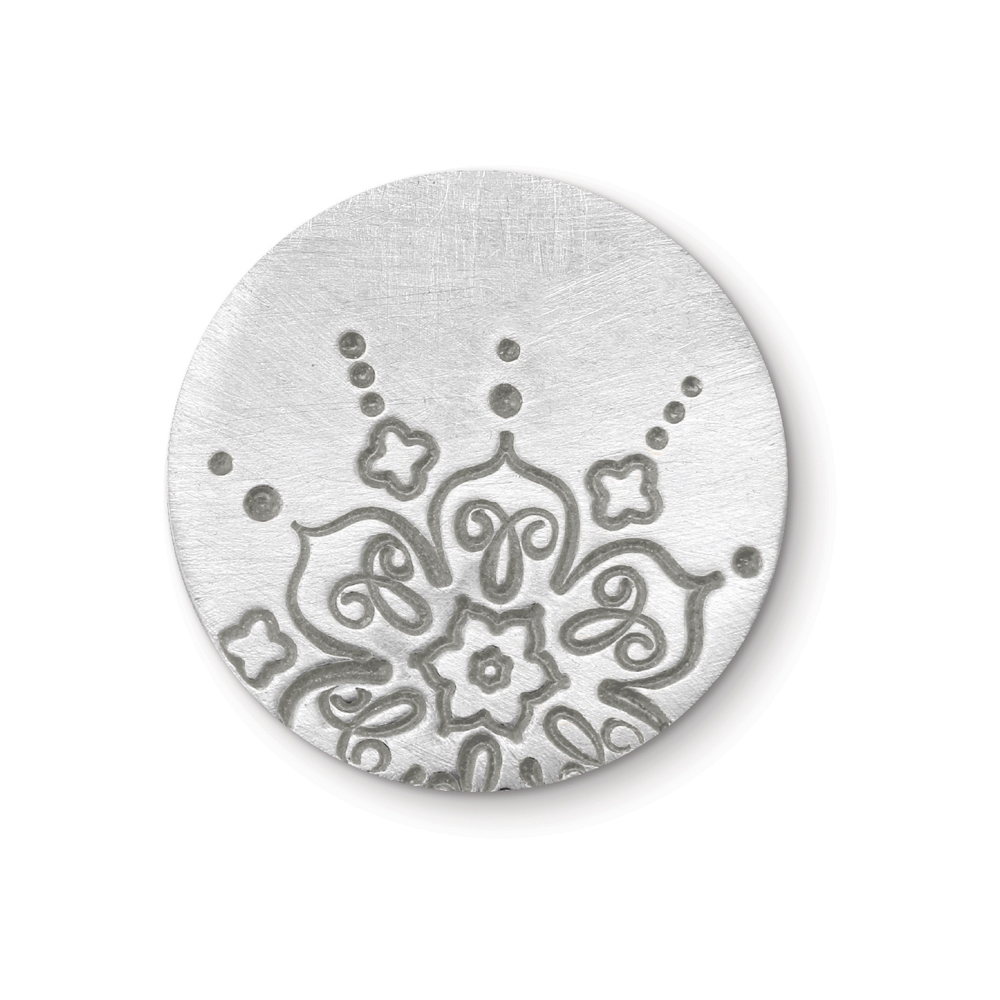
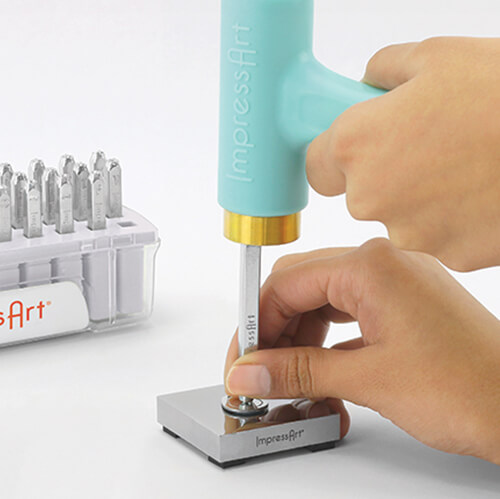
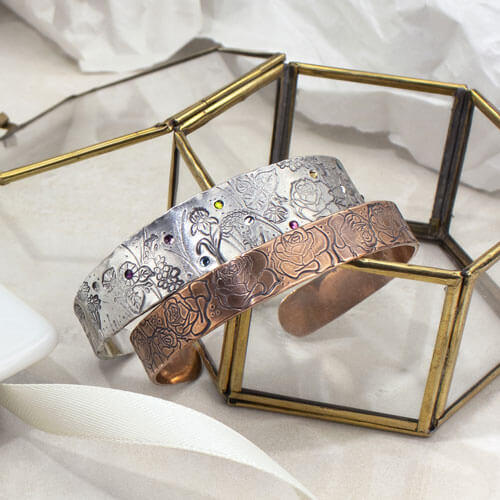
Stamp a floral design of your choice using the Ultra Detail Birth Month Flower stamps as well as the Curved Line Metal Stamp for grass. Use the Tilt & Tap technique to stamp 6mm and larger stamps, or stamps with more details. While applying pressure to the stamp, strike once with medium force. Then without lifting the stamp, continue to strike while very slightly tilting the stamp in a circular motion to catch all sides of the design.
TIP: Place stamping block (with no rubber feet or padding) on a hard sturdy surface when stamping aluminum, brass, or copper with Curved or Line Metal Stamp.
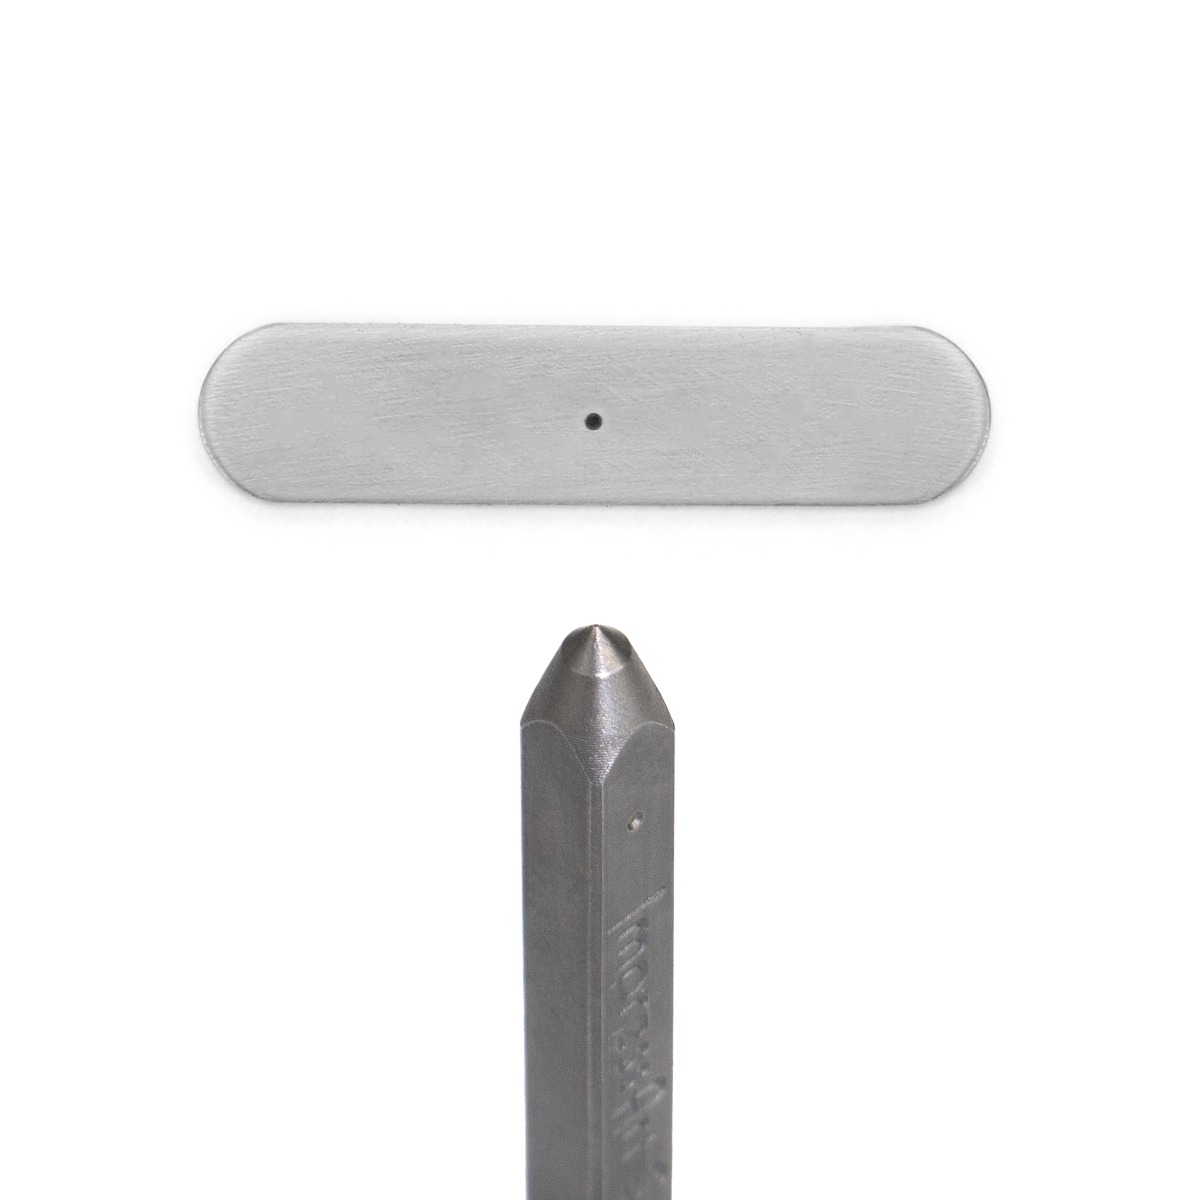
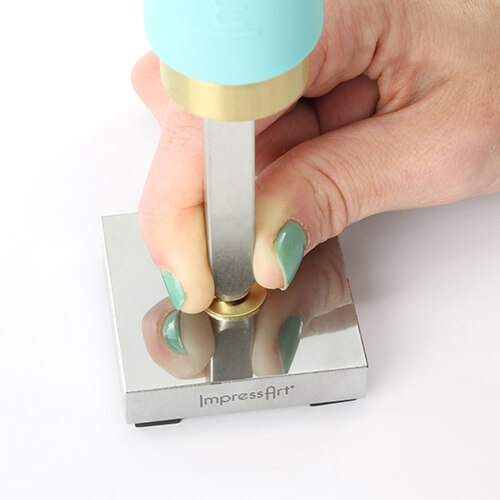
For a spark of color, stamp using a crystal setter. Hold crystal setter flat and firmly in place on the stamping blank. Strike with medium force using metal stamping hammer until a round indentation is formed in the stamping blank. The indentation should be deep enough so that the edges of the crystal are set in the divot and the top of the crystal protrudes out from the blank.
NOTE: Don’t position crystal punch too close to the blank’s edge as this may cause the blank to bulge out and distort as the metal spreads.
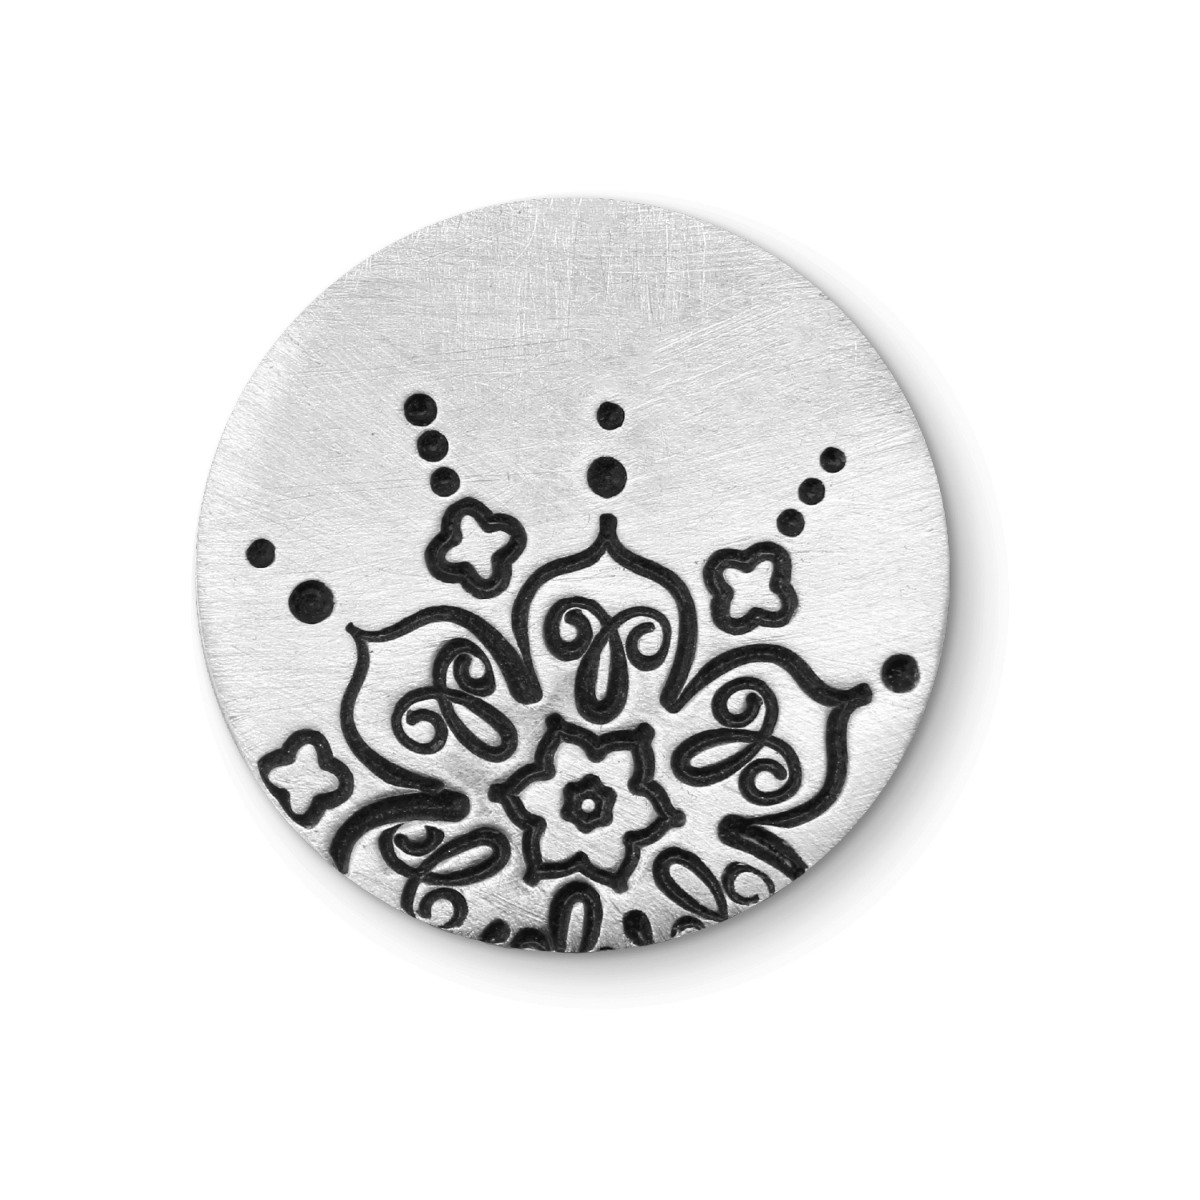
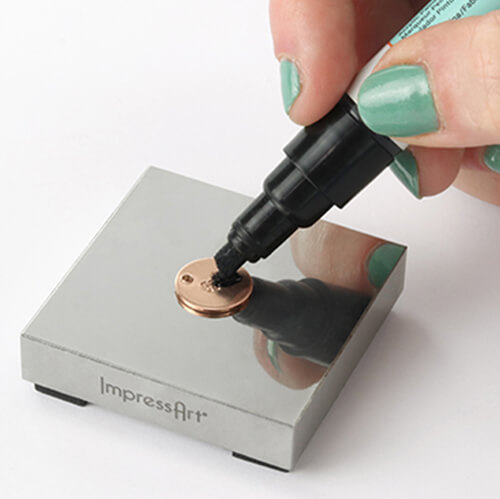
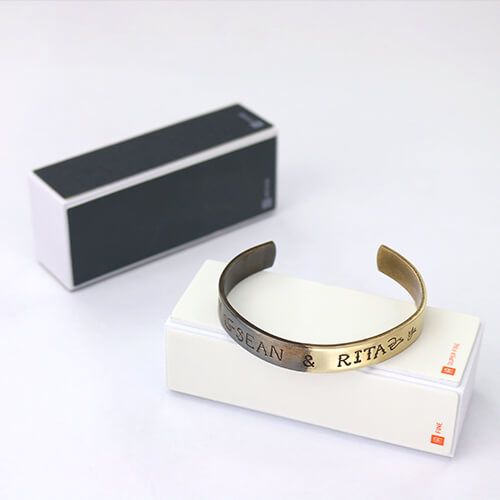
Highlight impressions with Black Stamp Enamel. Wait 3-5 minutes and then wipe away the excess enamel from the surface of the blank. To create an antiqued oxidized look, repeat the enamel process by applying Silver Stamp Enamel over the black enameled impressions.
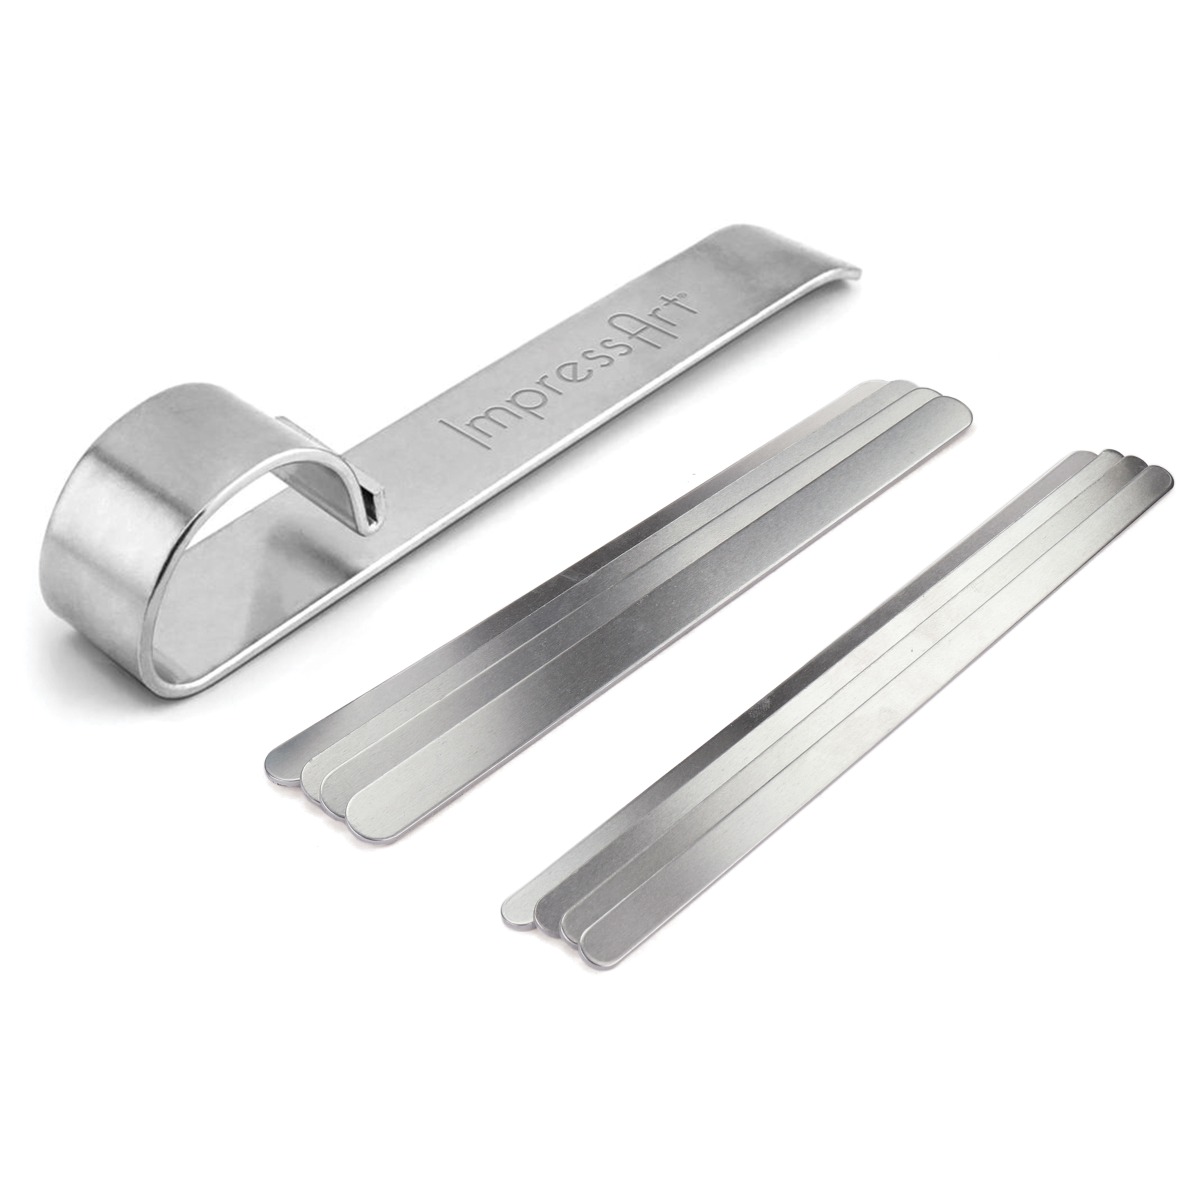
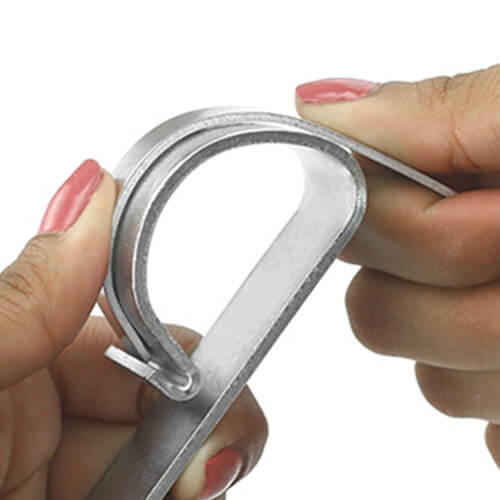
Use the Bracelet Bending Bar to bend the blank into a cuff shape. Place one end of blank into the channel with the stamped side facing up. Firmly place your thumb against the end of the bracelet to secure it in place. Using the palm of your hand, bend the bracelet halfway around the bar until it forms a 90-degree angle. Repeat on the other side to finish shaping a bracelet.
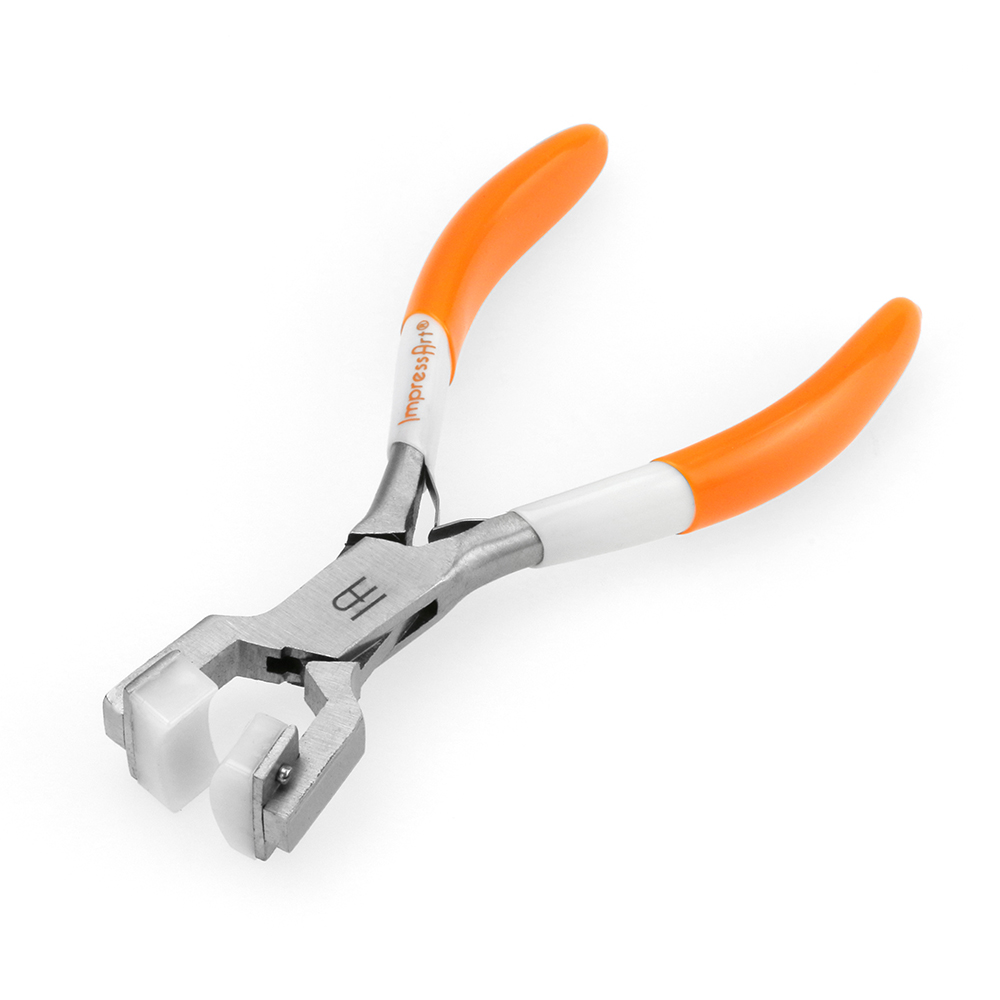
Continue to round out the cuff with Bracelet Bending Pliers. Match the curvature of the pliers to the curvature of the bracelet. Then begin in the center of the bracelet and squeeze down. Work towards each end to give bracelet a rounded finish.
Use the fine and super fine grit on the High Polish Finishing Block to clean and buff metal to a high shine.
Note: High Polish Finish Blocks & Matte Finish Buffing blocks can be used on all ImpressArt blanks excluding ImpressArt Artisan collection plated blanks.
Secure flat back crystals inside stamped divot impressions with jewelry adhesive, and allow to dry before wearing. Use tweezers to help set crystals in place, making sure not to scratch the crystals.


