Level 3
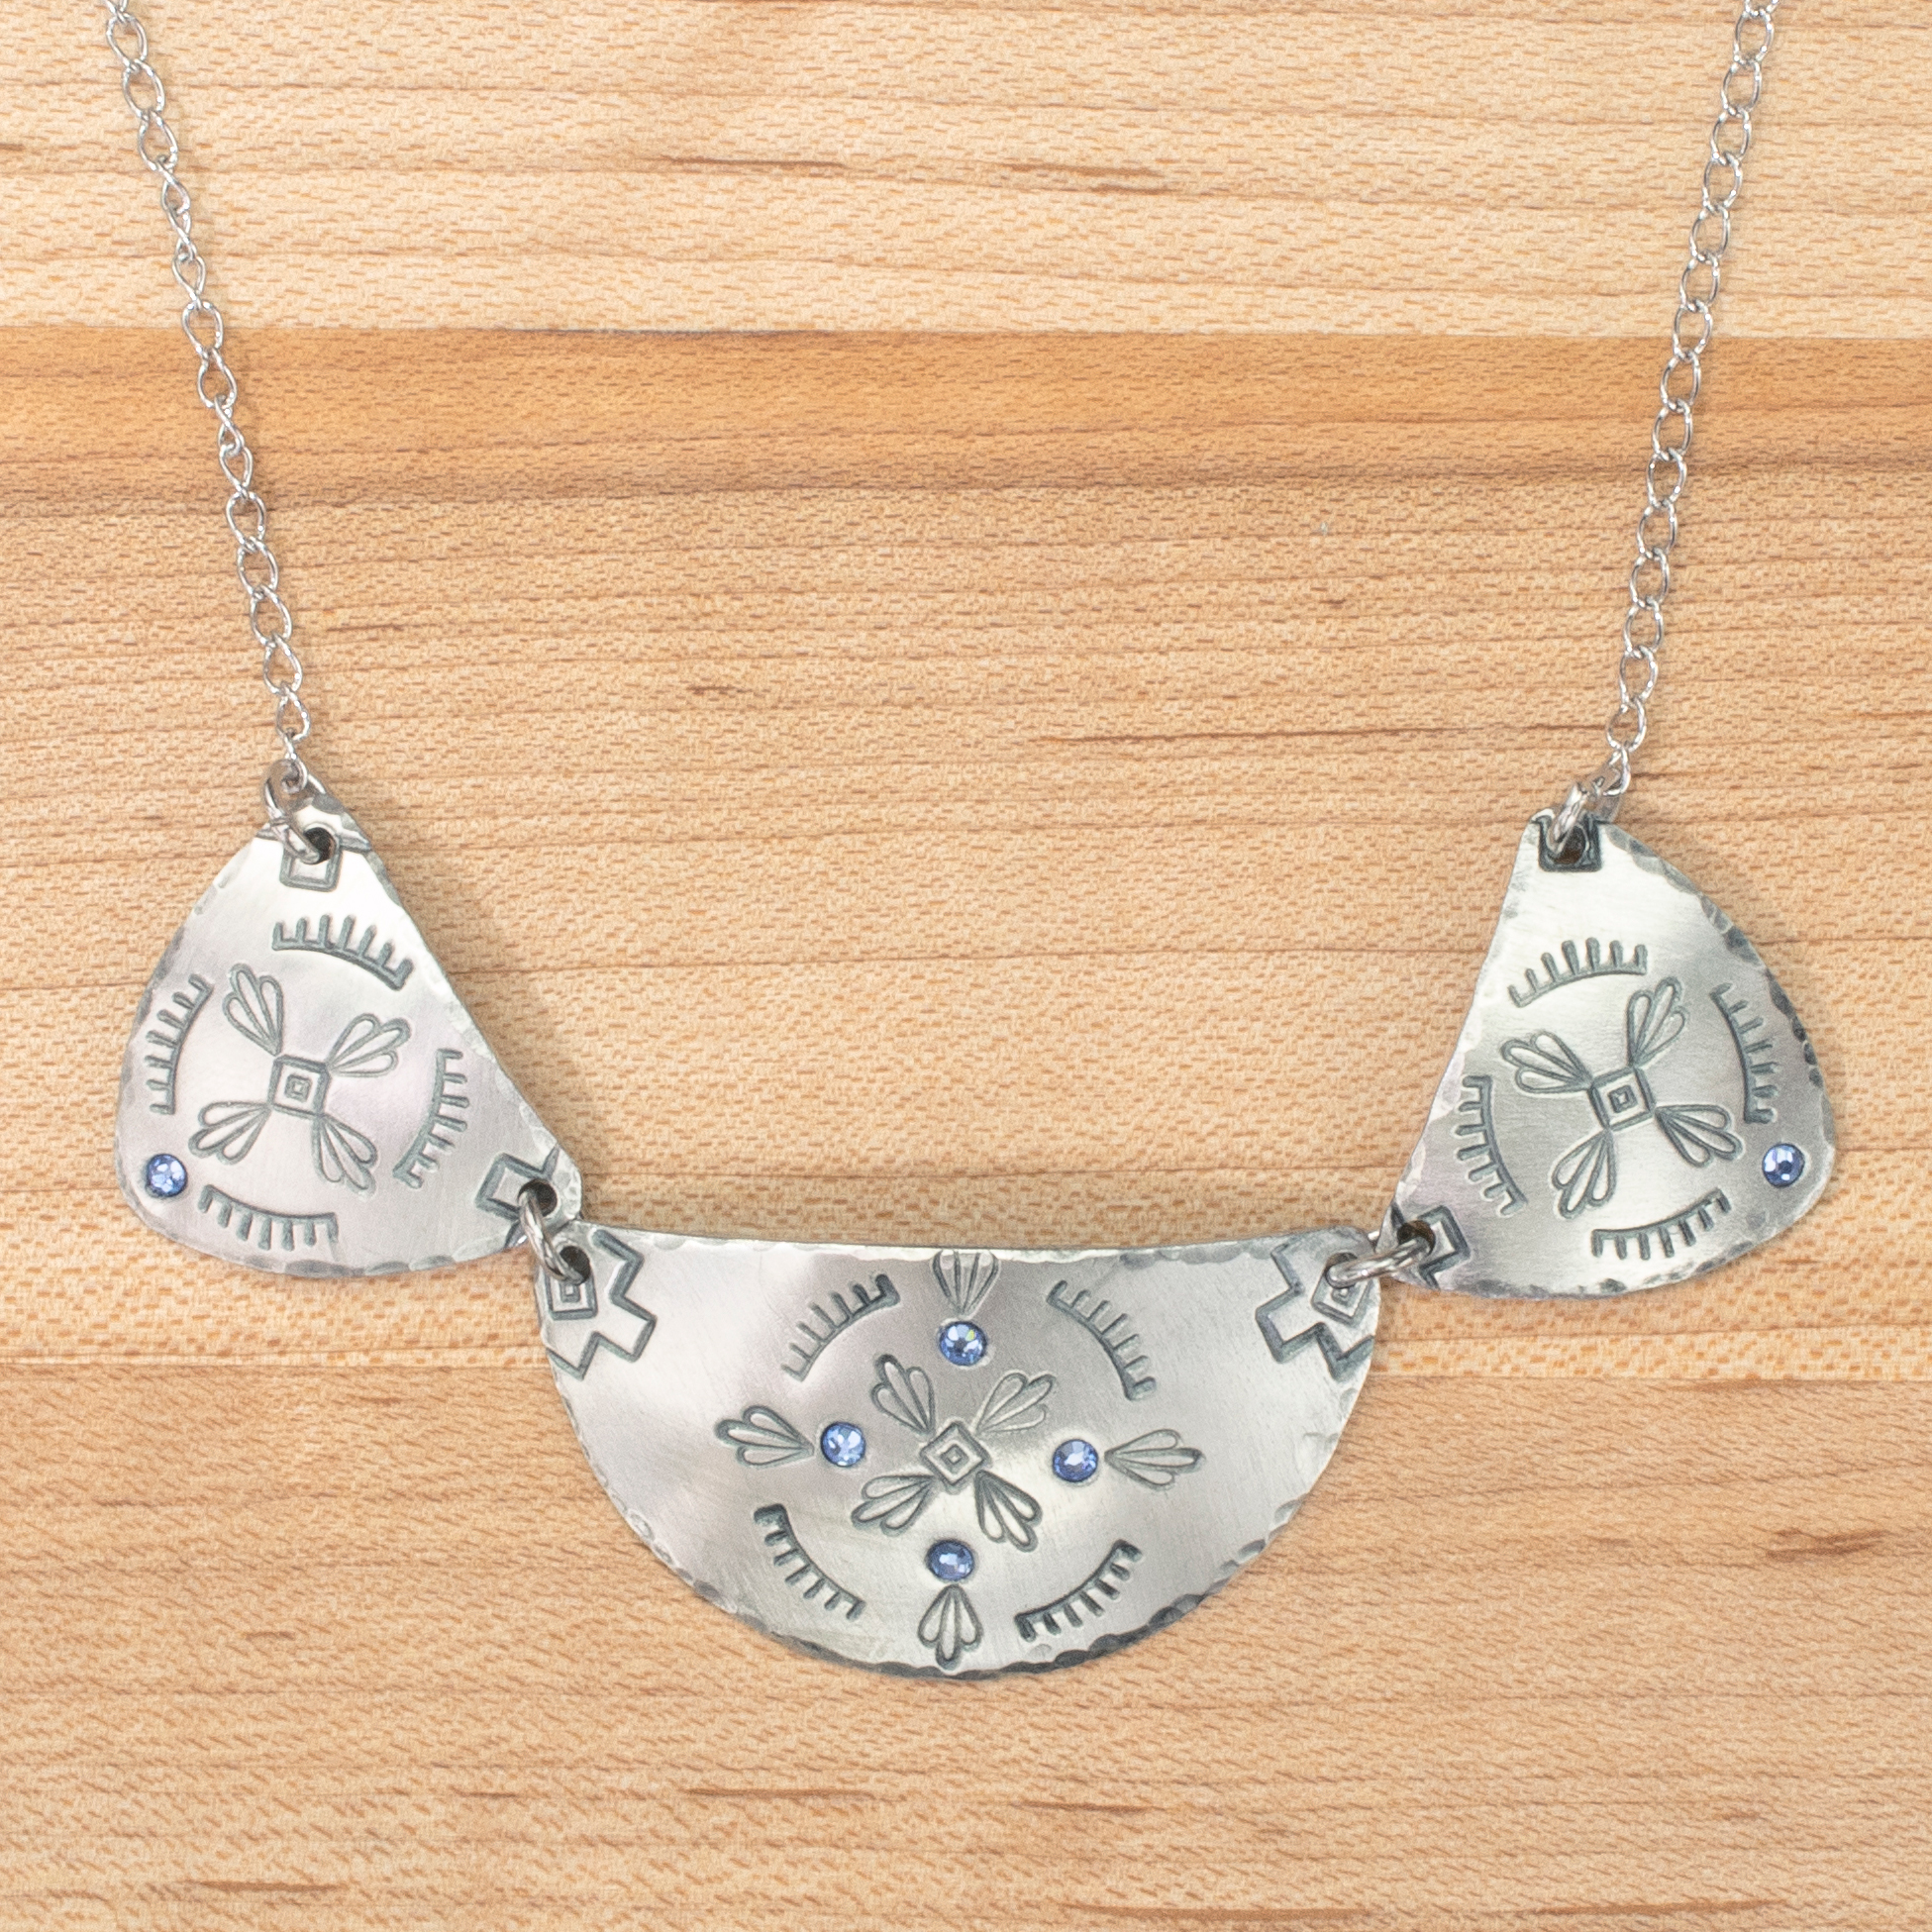
The Showstopper
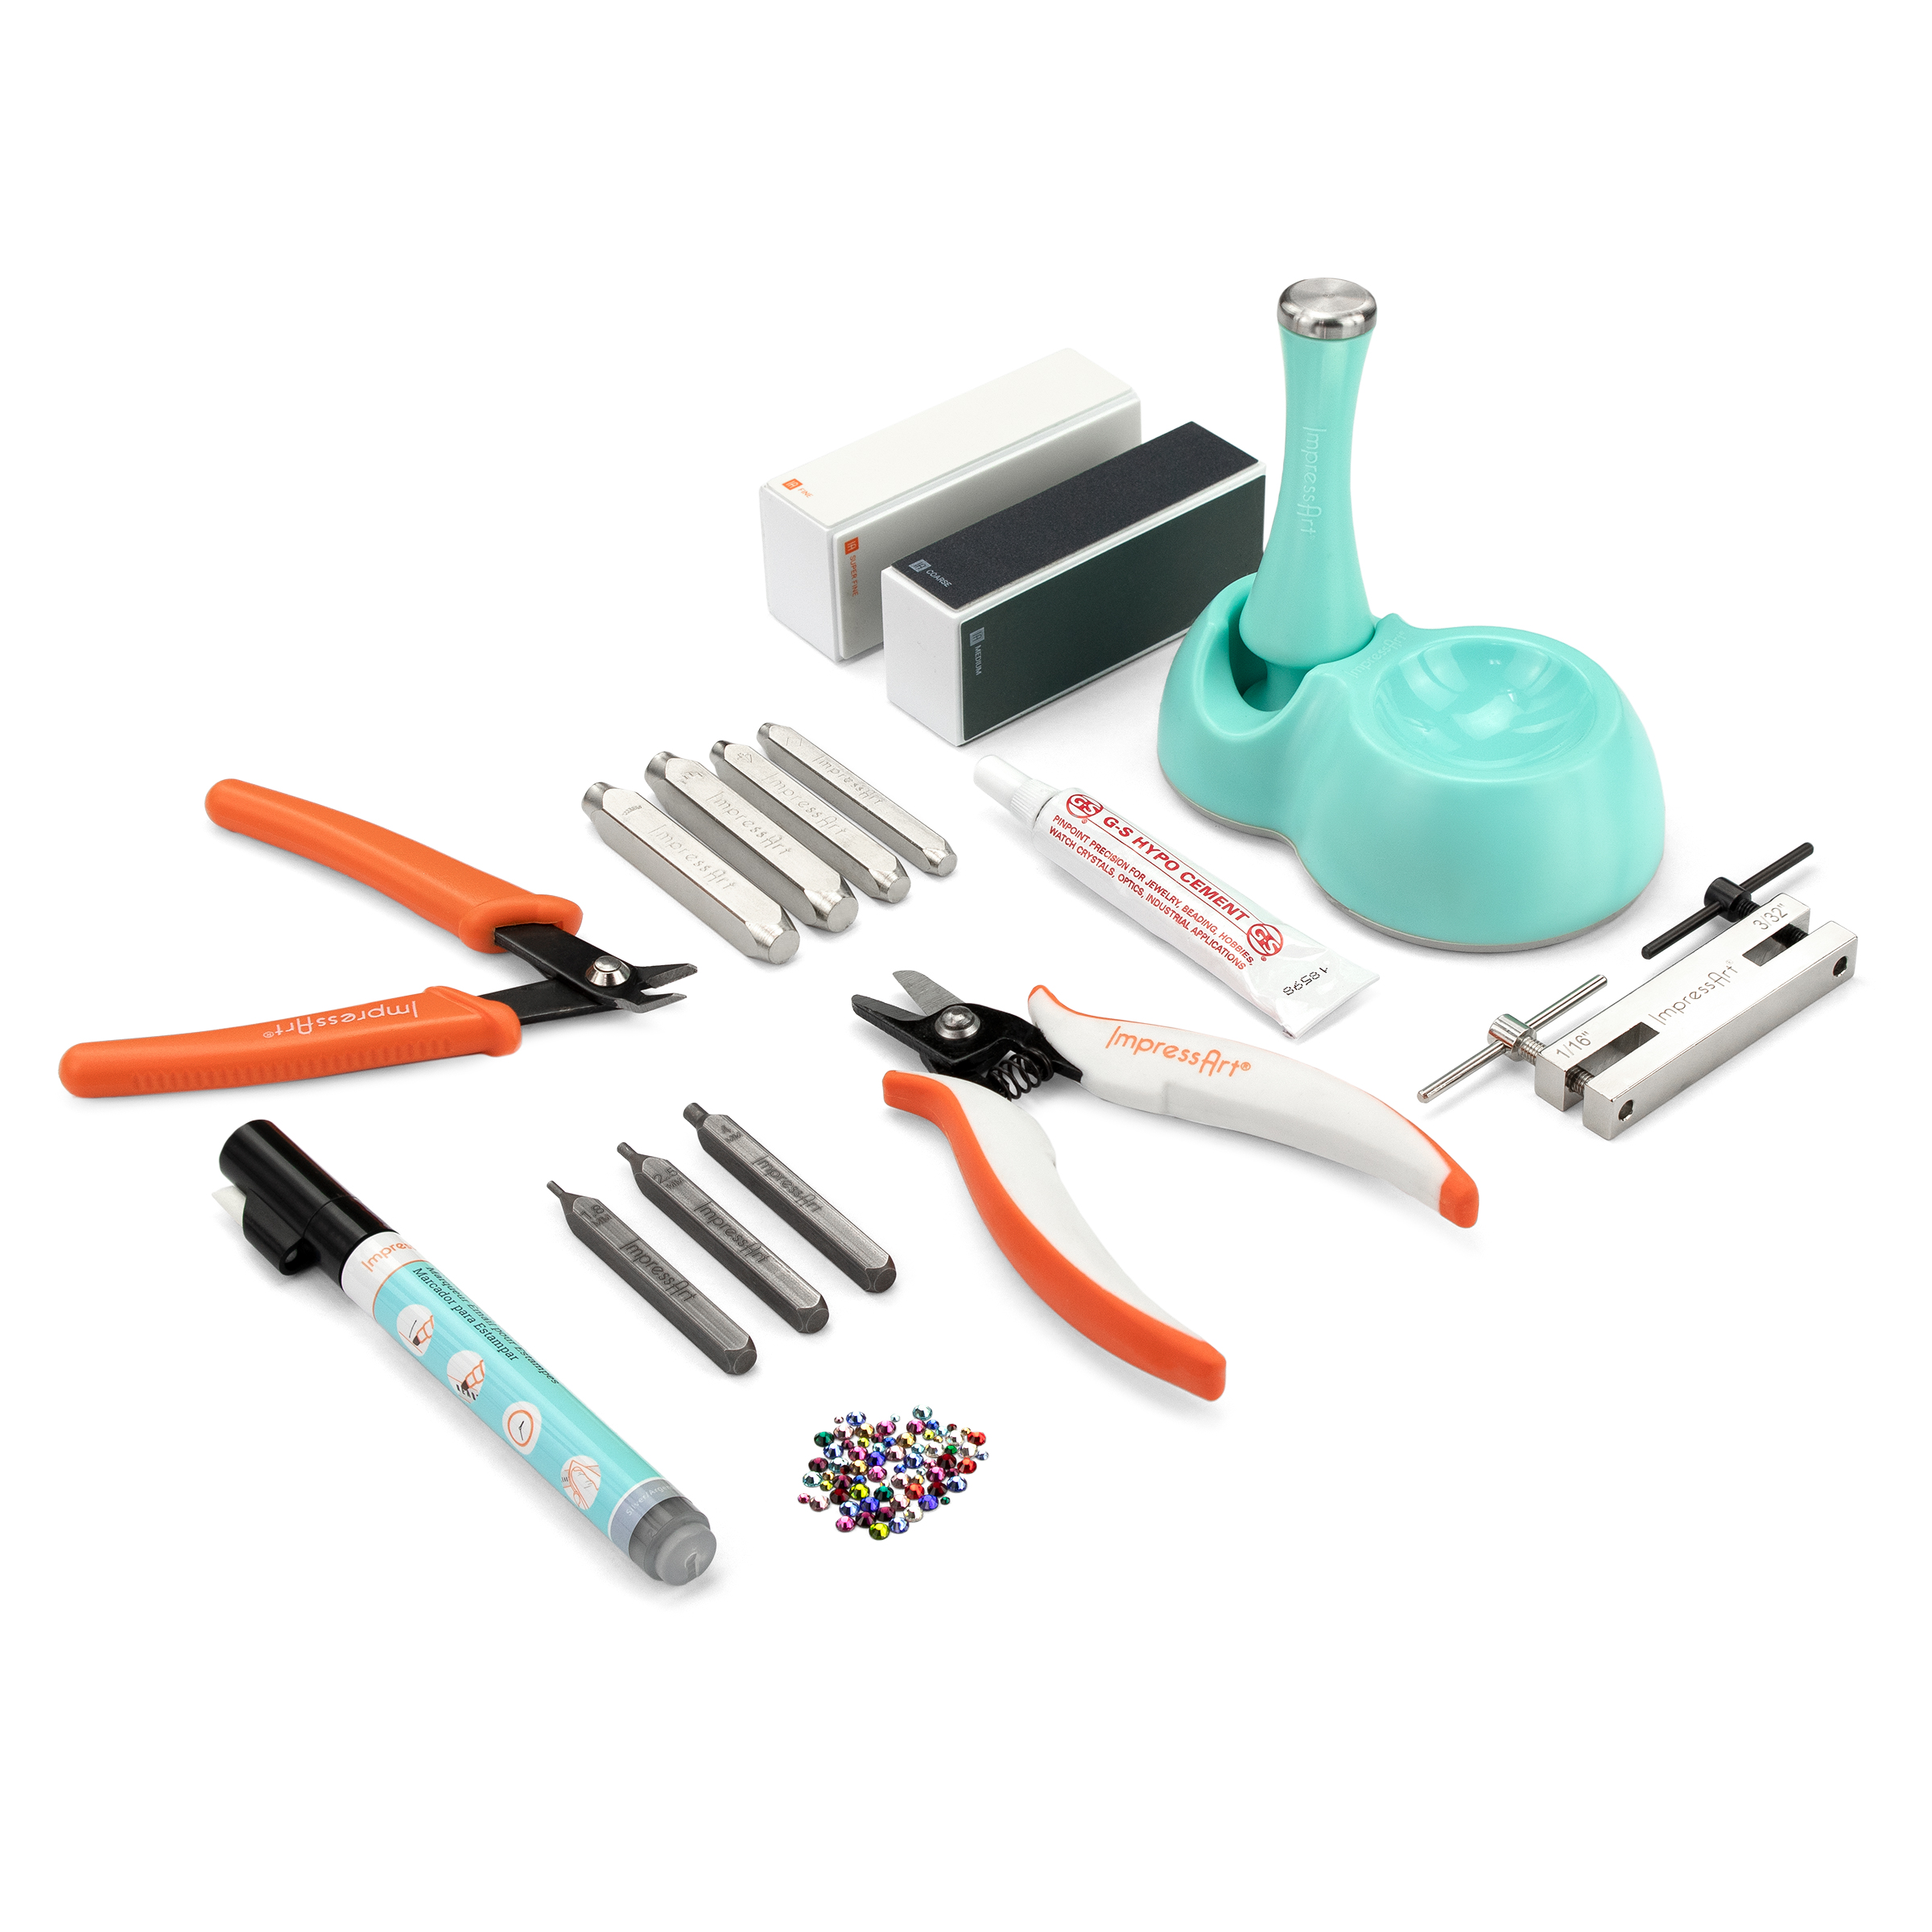
Tools & Supplies
- Ergo-Angle Metal Stamping Hammer
- Steel Block
- Stamp Enamel Marker, Black
- Stamp Guides
- Stamp Tape
- Stamp Enamel Marker, Silver
- Southwest Mandala Stamp Pack
- High Polish Finishing Block
- 2 Hole Screw Down Punch
- Dapping Kit
- Flush Cutters
- Chain Nose Pliers (2)
- Oval Stamping Blank, 1" x 1 1/2"
- Crescent w/ Hole Stamping Blank, 1”
- Crescent Stamping Blank, 2 ⅜”
- Artisan Jump Rings, Plated, 7mm
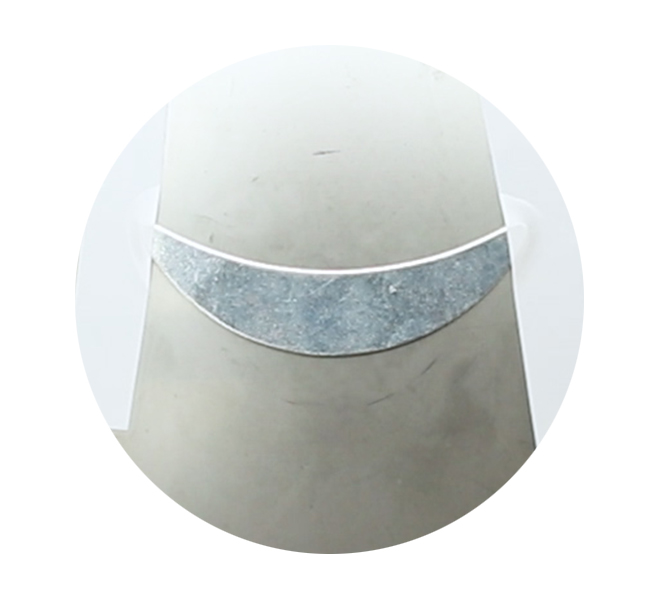
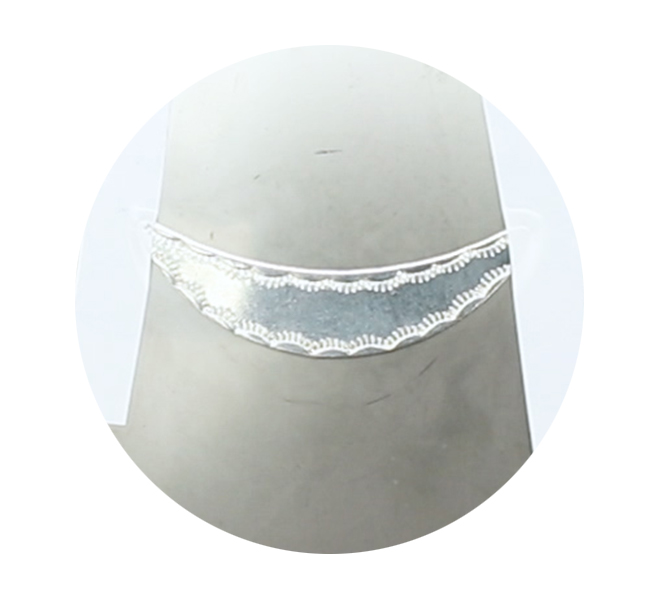
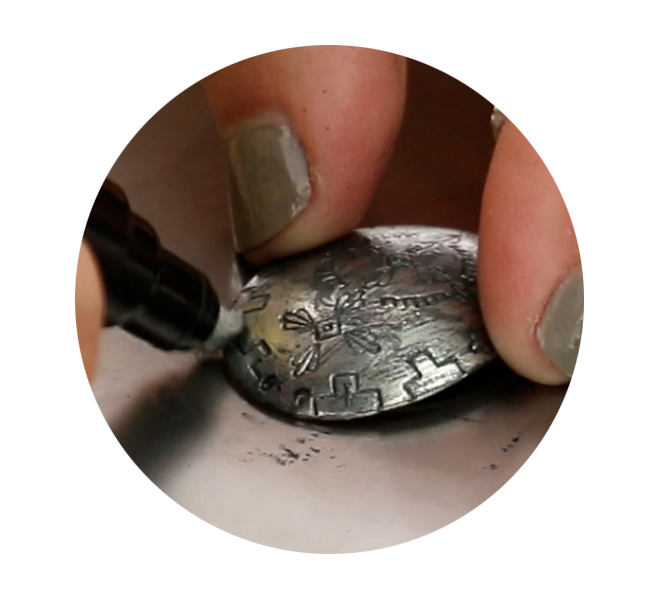
Create a border around the crescent blank using a mandala design stamp. Start at bottom of the blank and line up the stamp (facing desired direction) with the edge of the blank. Hold stamp flat and firmly in place by anchoring the side of your hand on workspace. Strike design stamps once with medium force using the Metal Stamping Hammer. Continue stamping to create a border pattern around the blank.Turn the stamping block while working to complete the border pattern. This will ensure that the stamp is facing the correct direction.
TIP: When positioning the stamp for the border, look for reflection of the stamp in metal.TIP - TILT & TAP: Use the Tilt & Tap technique to stamp 6mm and larger stamps, or stamps with more details. While applying pressure to the stamp, strike once with medium force. Then without lifting stamp, continue to strike while very slightly tilting the stamp in a circular motion to catch all sides of the design.
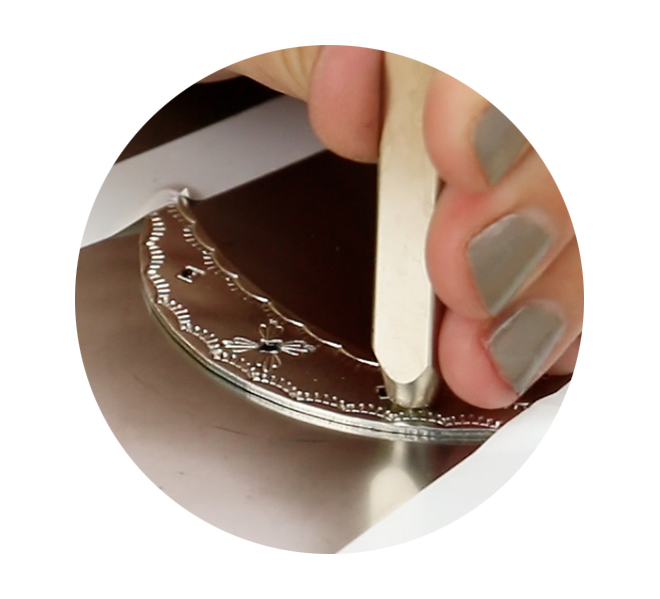
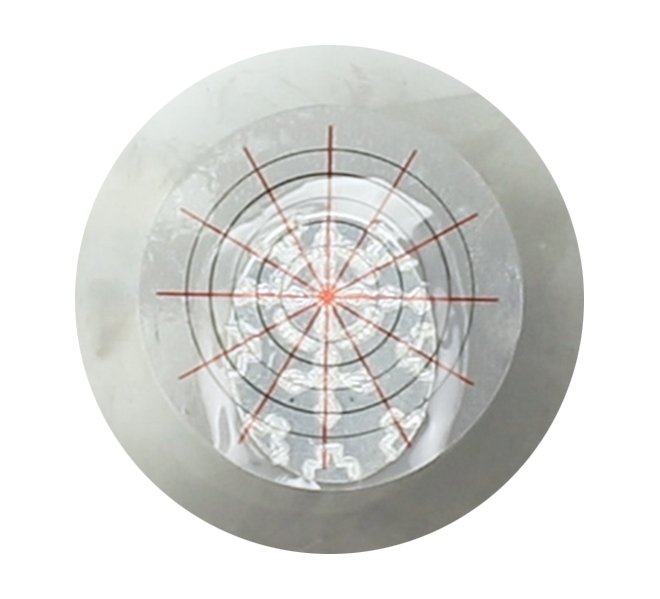
Place oval blank on stamping block. Offset a pattern grid, by placing it towards the top of the blank. Secure the edges of the pattern grid to the stamping block. Start mandala pattern from the center using the line and circle marks as guides to assist with spacing and work your way outwards. Remove pattern grid. Place stamped oval blank aside.
TIP: Use tweezers to carefully remove any remaining stamp guide remnants from the stamped impressions. Make sure not to scratch the blank.
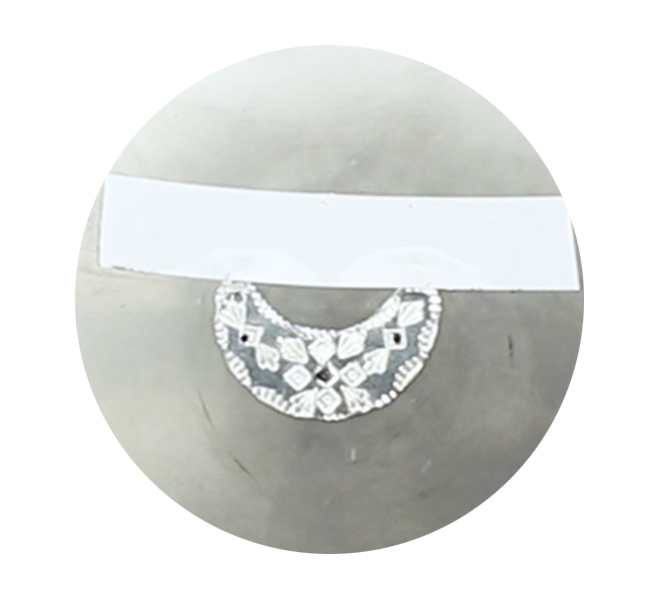
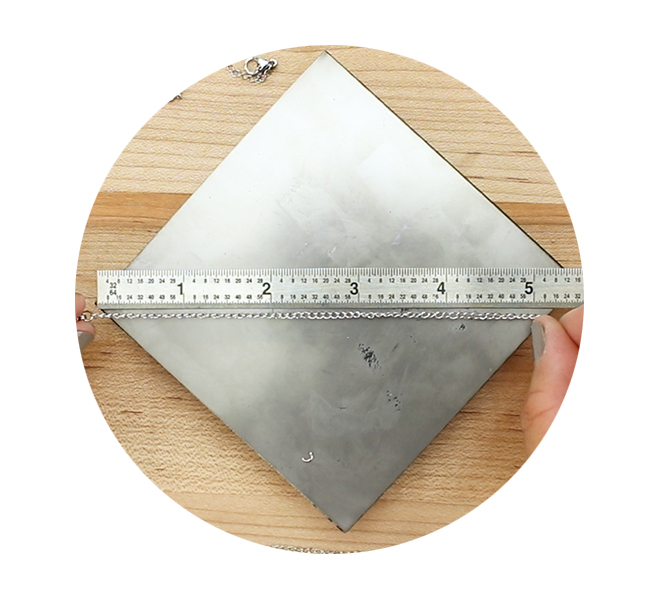
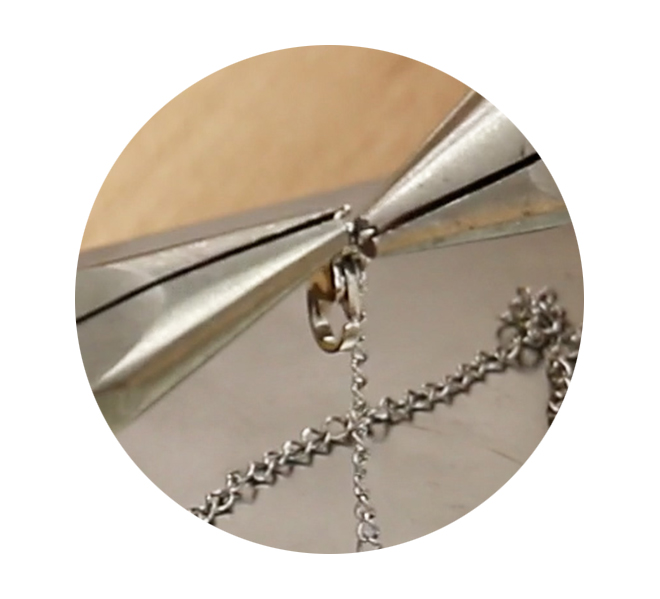
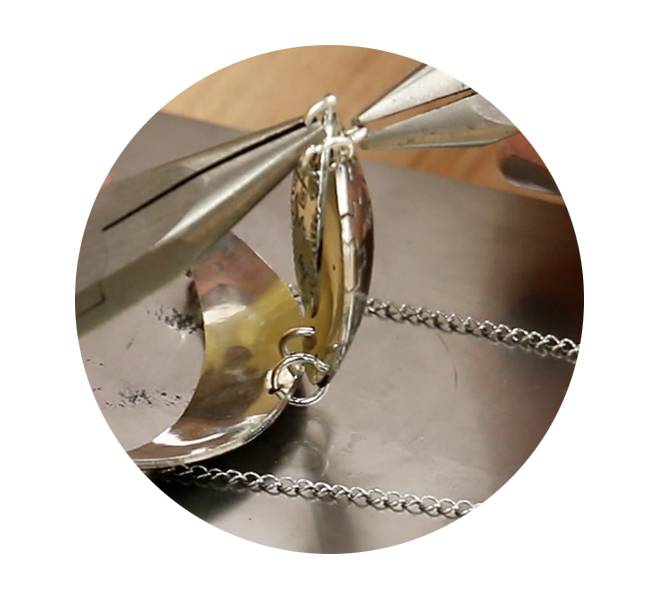
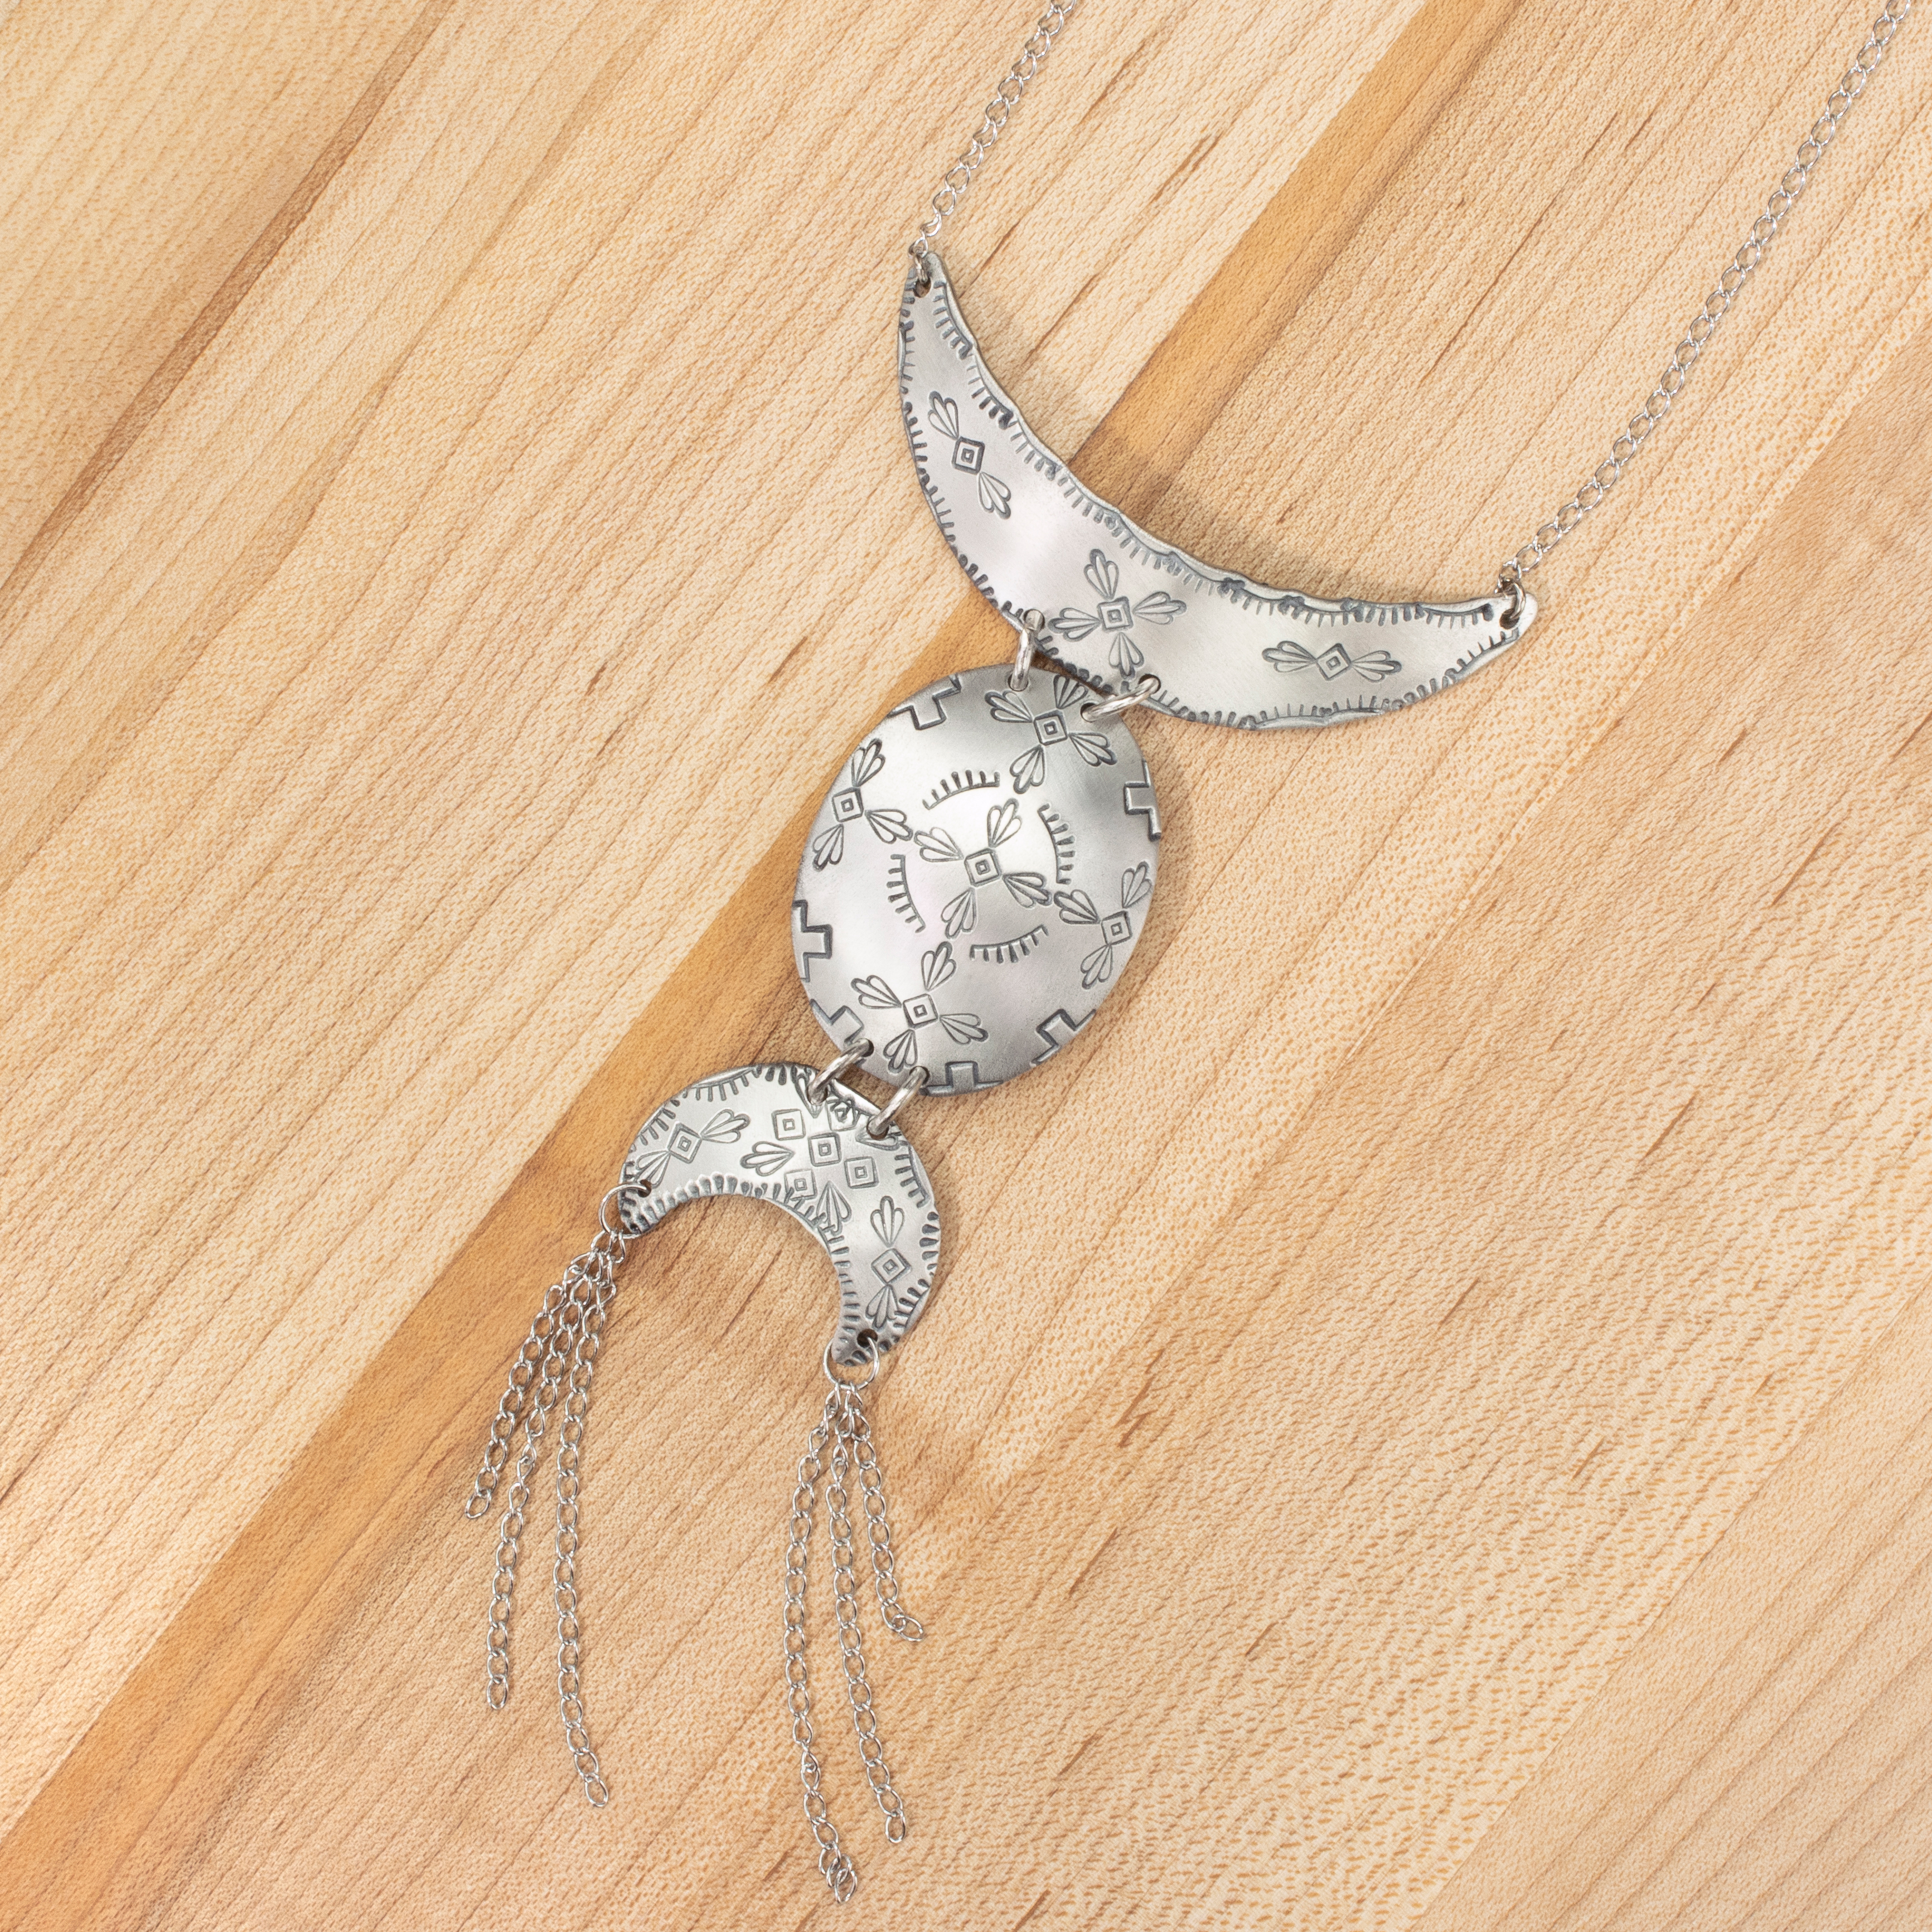
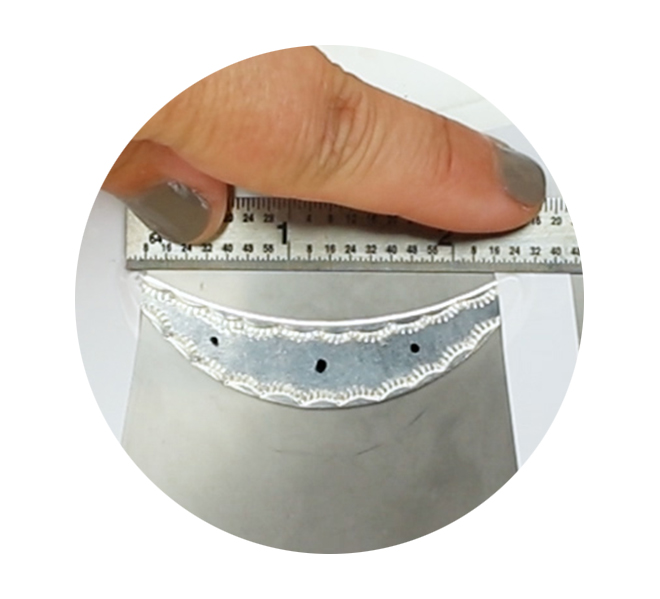
Place all the stamped blanks on the block in order from top to bottom—crescent 2 ⅜”, oval, crescent 1”. Use the nonpermanent marker to mark the hole locations—two (2) jump rings connect each blank together, and two (2) are needed at the top of the necklace pendant to connect the chain as well as at the bottom of the necklace pendant to connect the fringe.
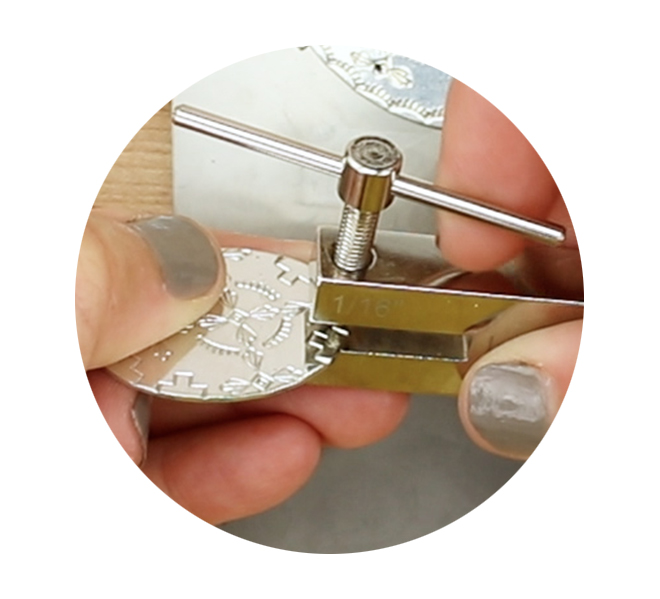
Pierce holes using the 1/16" punch of the Two Hole Screw Down Punch. Mark the desired location of the holes with a nonpermanent marker. Line up the screw punch with the mark on the stamping blank. Once the punch and the mark are aligned, simply turn the handle of the screw down punch until the screw punch pierces through the stamping blank, leaving a clean crisp hole. Then twist the handle of the screw down punch in the opposite direction to raise the screw punch and remove blank. Wipe off any remaining marks.
TIP: Make sure not to screw the punch down too much as this will mar the surface of the blank and leave an unwanted impression of the base of the screw.
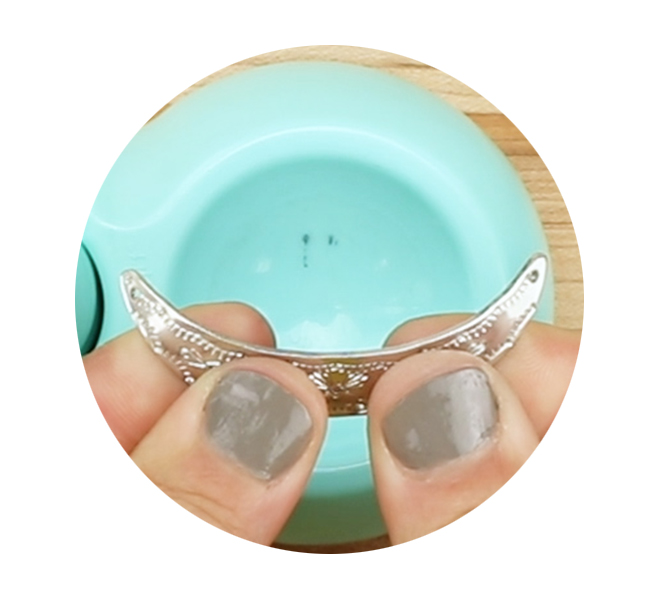
One at a time, place blank, stamped side down, inside dapping cavity of dapping block. Hold punch in center of blank and tap the punch with the Metal Stamping Hammer. Then continue to tape the punch while rotating the punch at an angle in the dapping cavity until blank is evenly domed into a convex shape.
NOTE: Crescent 2 ⅜” blank will hang over the side of the dapping cavity. Come in the center with the punch and press down. Then give the punch a few very light taps with the hammer. Next, move the ends of the blank into the center of the dapping block and tap the punch. At this point, crescent blank will be extremely convexed. Use fingers to manipulate metal and pull the ends out just a bit. This will soften the convex shape and ensure that the blank has a flat top and curved sides.
